How to Repair a Fence: The Ultimate Guide
A successful fence repair can extend the life of your fence — when it’s worth the effort. Here are some of the most common issues for popular types of fences, including wood, vinyl, and chain link fences, and how to handle these repairs yourself.
In this article, we’ll cover the following repairs:
- Wood Fence Repair
- Fence Post Damage
- Fence Panel Damage
- Leaning Fence
- Fence Picket Damage
- Vinyl Fence Repair
- Damaged Panels
- Old or Brittle Vinyl
- Fading or Discoloration Issues
- Chain Link Fence Repair
- Broken Wire Tie Issues
- Mesh or Weave Damage
If you’re looking for more information on repairing an aluminum fence, check out our aluminum fence repair guide.
Is the Fence Worth Repairing?
Before we dive in, it’s important to note that not all fence repairs are worth the effort. Some fence issues can be a sign that your fence is at the end of its life.
“Old fences are a lot like old cars,” says Chris Herman, founder of Top Rail Fence. “When there’s something to fix, you have to weigh whether it’s worth the investment, or whether you’re better off purchasing something new.”
Wondering whether to repair or replace? This will hinge on the type of fence you have, as well as the extent of damage — whether it’s curable with a one-time fix or there’s a chronic underlying issue that no amount of repairs can resolve.
It usually makes sense to repair damage from an isolated event such as inclement weather, as long as the damage isn’t too serious. On the other hand, if the problem is caused by a chronic issue, such as wood rot or wear and tear, it might be advisable to replace the entire fence.
Of course, there’s no black-or-white answer. Whether you opt for a patch job or a brand new fence depends on the particulars of your situation, such as budget constraints and your long-term plans for the property.
Here are a few signs that it’s time to replace your fence. These point to more serious root issues that can’t be fixed with a basic fence repair:
- Leaning posts
- Rust or discoloration
- Holes or cracking
- Sinking or drooping
- Wood splintering
- Mold or mildew
- Signs of dry rot such as dark timber, brittle wood, or fungal growth
- Signs of termites or carpenter ants
- Invasive tree roots
- Peeling paint or stain
- Loose or missing fasteners
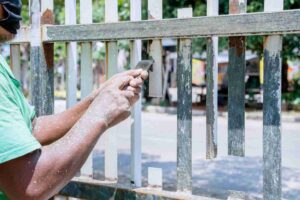
Wood Fence Repair
A wood fence can last a long time, but it requires consistent maintenance, including cleaning and staining or painting every two to three years. This is because wood is vulnerable to pests (such as termites and carpenter ants), sun damage, and wear and tear from the elements. Learn more on how to properly clean a fence.
If any of the issues above are behind your fence’s damage, any repair work you do will act as a temporary Band-Aid, Chris explains. But a Band-Aid fix can help make the fence last until you’re in a position to afford replacement costs.
On the other hand, when fence issues come from accidents or storms, it’s usually practical to make repairs, as long as the damage isn’t catastrophic.
Check out our blog post on what fences last the longest to help you alleviate repair concerns.
Below we share how to repair a wood fence depending on the issue you’re seeing.
How to Repair a Fence Post
Wood is prone to rotting when not properly protected. If a wood post rots, you’ll eventually need to replace the whole fence. But in the interim, here’s a quick rundown of how to fix a leaning fence post or repair other damage to a fence post:
What you’ll need:
2×4 bracing, a reciprocating saw, a digging bar, post hole digger, concrete mix, a drill, a level, and some screws
Steps:
- Brace the panels on both sides of the fence post.
- Use a saw to cut the nails attaching the fence post to the rails.
- Dig around the post using a shovel or post hole digger, exposing the base.
- Lift the fence out of the ground and remove any old concrete or damaged wood.
- Break up and remove the concrete foundation.
- Depending on the damage, you have a couple options:
- If the post is slightly damaged or cracked, you may be able to reinforce it by adding additional wood or metal supports. Secure these supports with nails or screws, making sure they’re firmly in place.
- If the post is severely damaged or rotted, it’s best to replace it entirely. Remove the old post and install a new one.
- If replacing the post, place the new post in the hole. Ensure it’s level and plumb, then brace it.
- Fill the hole around the new post with concrete mix, following the manufacturer’s instructions.
- Drill in 3-inch screws to reattach the fence rails.
- Let the concrete harden, then remove the braces from your fence.
How to Repair a Fence Panel
A wood fence panel can succumb to rot, or it can be blown over by intense wind gusts in a storm. If the panel is rotting, this will necessitate a replacement. But if an external impact caused the issue, you can repair the panel with the following steps:
steps:
What you’ll need:
2×4 hangers or brackets, new fence panel or wood for replacement pieces, hammer, drill, screws, wood support blocks, and reciprocating saw
Steps:
- Purchase new boards or cut replacement pieces from similar-sized lumber. Make sure the new materials match the type, size, and style of the existing fence.
- Screw wood blocks to the posts on each side of the panel under the bottom rail.
- Use a pry bar to detach the panel or a saw to cut the screws attaching the panel to the fence posts.
- Set the replacement fence panel on the support blocks.
- Drill 3-inch screws into the rails and then the posts to secure the panel.
- Ensure the new boards are level and flush with the surrounding fence elements. Add additional screws, if desired, for reinforcement.
- Unscrew the support blocks from the fence posts and rails.
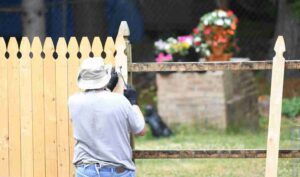
How to Fix a Leaning Fence
If your fence is leaning or has fallen down, this could be the result of severe weather damage from a tropical storm or hurricane. A rotting foundation can also cause parts of the structure to lean. When ignored, a leaning section will detach over time, which makes it critical to repair it in a timely manner.
Follow these instructions to secure your fence in an upright position:
What you’ll need:
2×4 braces, tamping bar, miter or circular saw, drill, screws, concrete, tape measure, scrap wood sheet, and 3 ½-inch screws
Steps:
- Remove any obstacles, such as vegetation or tree roots, that may be pushing against the fence and contributing to its lean.
- Use 2×4 braces to straighten the fence back into a vertical position.
- Reattach rails to secure fence posts using 3 ½-inch screws.
- Use a saw to cut any nails that prevent the rails from being flush to the post.
- Look for posts that have become entirely unanchored — a common cause of fence leaning is inadequate support in the ground.
- Reinforce the foundation using the following steps in order to address the loose posts. It’s usually best to keep the original post rather than risk more damage by attempting to remove it.
-
- Dig a hole around the leaning post, ensuring it’s deep and wide enough to provide proper support.
- Fill the hole with concrete or gravel, making sure to compact it well. This will provide a stable base for the post.
- Place the post back into the hole and use a level to ensure it’s straight. Allow the concrete to set according to the manufacturer’s instructions.
- Add a new post near the original post that needed to be secured:
- Dig a deep, narrow hole in the ground.
- Using a saw, cut a 4×4 fence post.
- Attach the rails to the new post using 3 ½-inch screws.
- Pour concrete around this fence post, then let it harden completely.
- Remove the braces and reattach or replace any pickets that may have been removed in the middle of the process above.
- Make sure the panels are level and properly aligned and the fence feels sturdy.
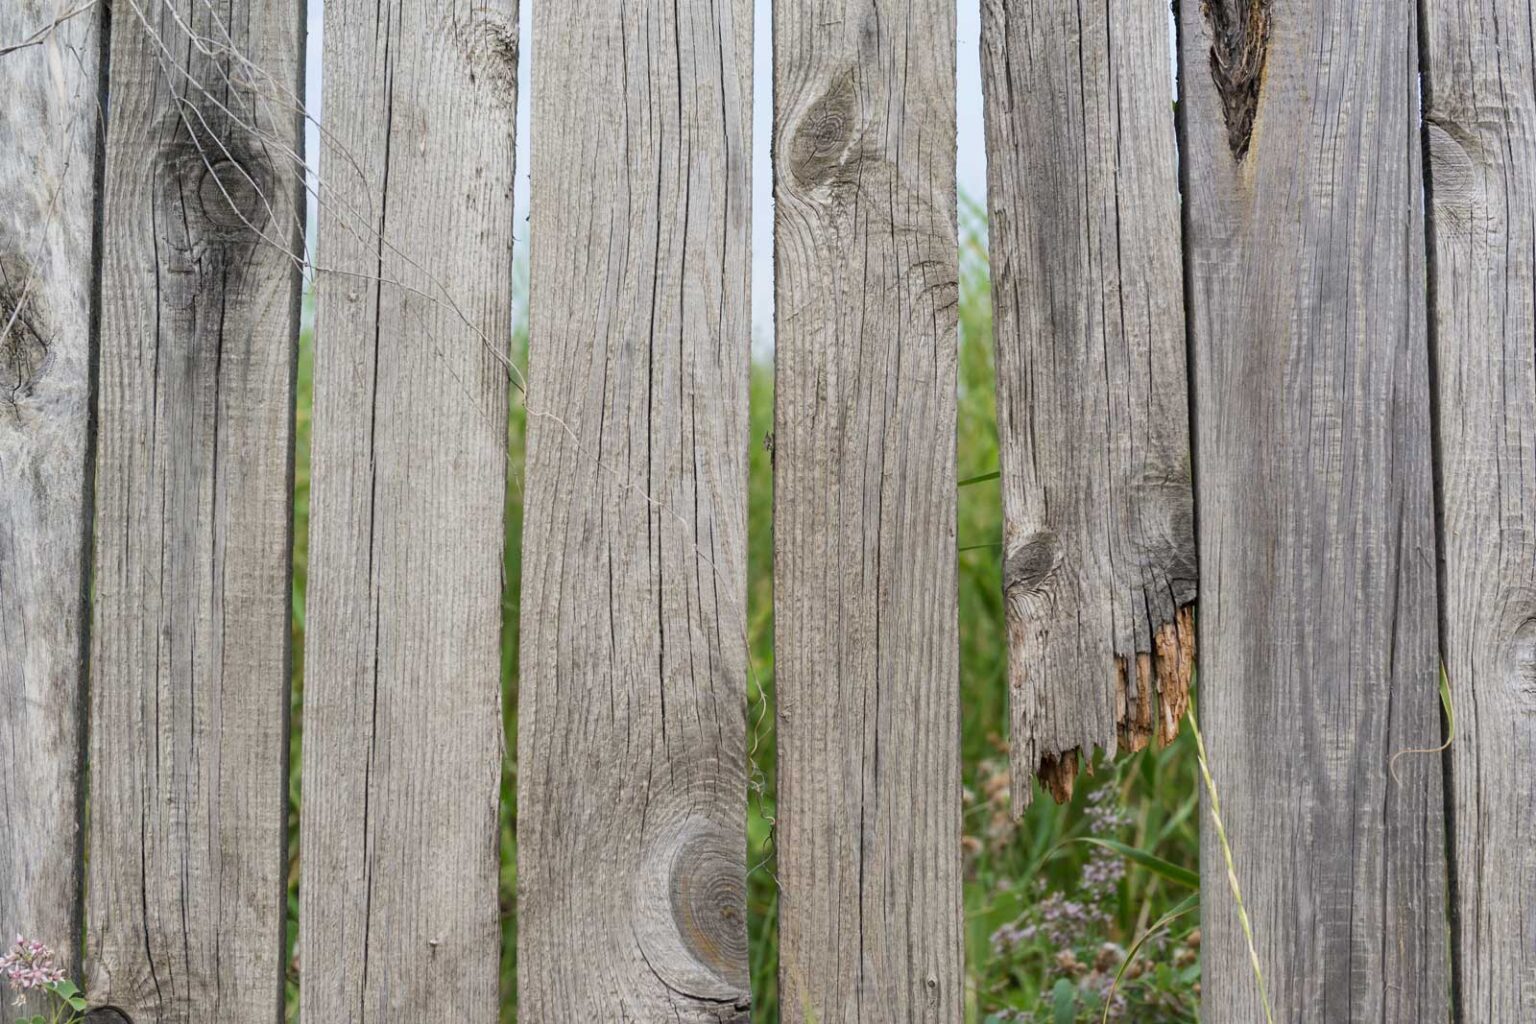
How to Fix a Fence Picket
A picket is the vertical slat or board that attaches to the horizontal rail along the back of a wood fence. Picket damage can occur due to fallen tree branches or other debris, or impact, such as from a fence-hopping dog. On the other hand, aging can cause warping, cracking, splitting, or crumbling in pickets as the wood expands and contracts over time.
Here’s how to fix the defective picket:
What you’ll need: Hammer or pry bar, drill, screws, measuring tape, circular saw, sander, and scrap wood
Steps:
- Use the back of a hammer head or pry bar to remove nails attaching the picket to the rails. If the picket is screwed to the rails, use a drill to unscrew them.
- Measure the exact size of the fence picket you just removed.
- Use the saw to cut a new picket with those same dimensions from the scrap wood, sanding the edges for a smooth finish.
- Using 3-inch screws, attach the new fence picket to the rails.
- Ensure that the replacement picket is securely fastened to the rails. Wiggle the picket slightly to check for stability.
- If needed, add additional nails or screws to reinforce the attachment.
Staining and Sealing
After finishing a wood fence repair, you’ll probably want to stain the new piece of fencing to match it as closely as possible to the rest of the fence. Some stains also act as a sealant. This should be indicated on the product label. You’ll also know if the stain contains sealant if the water beads on the surface of the wood rather than gets absorbed.
It’s important to apply a separate coat of sealant on the stained fence for maximum protection if you’re not using a stain and sealant in one. Every product is different, so follow the manufacturer’s instructions for the stain and sealant you use.
Vinyl Fence Repair
Vinyl fences are known for both their sturdiness and longevity. Unless your fence is old, it literally takes an Act of God — what insurance companies define as a natural event outside of human control — to weaken its structural integrity. Speaking of which, homeowners insurance might cover repairs, so be sure to look into this.
How to repair a vinyl fence depends on what you’re trying to fix. Here are some common issues you’ll need to take care of in order to maintain a strong vinyl fence.
Damaged Vinyl Fence Panel
Severe weather is one of the few incidents that can cause serious damage to a vinyl fence. If hail or heavy wind impacts the structure — for example with frame dents, broken rails, fallen posts, or torn hinges — contact your insurance provider, as these repairs may be covered. In such a case, you may be able to hire a professional fence contractor to take care of the damage for you.
If the damage is fairly minor, such as from a wayward golf ball, you can restore a vinyl fence to its pre-storm condition with a vinyl patch kit from your local hardware store. Or you can follow the steps below:
What you’ll need:
Soap and water, rag, spray foam hole filler, plastic filler, putty knife, sandpaper, fine tooth saw, and spray paint that matches the color of your fence
Steps:
- Clean the area with soapy water and rinse and dry the area thoroughly.
- Smooth out the damaged spot manually using sandpaper, then clean the area and let it dry.
- If you’re filling holes rather than small cracks, use expandable foam to fill the crevices. After the foam dries, using sandpaper and a fine-tooth saw, remove excess dried foam. Then clean the area and let it dry.
- Seal the area using plastic filler. After it dries, remove any excess filler.
- Spray paint the area using an epoxy paint in a matching color.
Alternatively, in the event of extensive damage, you can pick up a new matching fence panel from the same manufacturer and follow the manufacturer’s instructions for installation.
Old or Brittle Vinyl
Vinyl is a resilient material, but as the fence ages, it’ll become more brittle over time. This makes the whole structure vulnerable to punctures, cracks, holes, sagging, or warping.
If you identify specific areas that are especially brittle or weak, you can provide support to prevent further damage. You can use temporary braces, such as wooden props or clamps, to hold up or reinforce those sections while performing repairs.
Make sure you use proper tools, such as screwdrivers, drills, or saws designed for use with vinyl. Using improper tools or techniques can increase the risk of damage. When cutting or resizing vinyl panels, follow the manufacturer’s guidelines and use a fine-toothed saw or specialized cutting tool.
If the damage is widespread throughout the fence, it’s best to replace it altogether.
Fading or Discoloration Issues
Vinyl fences must be cleaned on a regular basis — otherwise, they’ll start to fade or discolor. Fortunately, this is just a cosmetic problem that’s easy to resolve. If you notice discoloration, pressure wash the vinyl fence to restore its original curb appeal.
Looking for more fence tips? Check out these other articles:

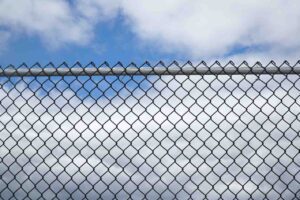
Chain Link Fence Repairs
Chain link has the longest lifespan of any fence material — in fact, most chain link fences can practically last forever with minimal repairs. This, along with their affordable cost, is the reason many homeowners prefer to install chain link fences.
However, they’re not indestructible. Occasional problems can affect both the structure and appearance of your chain link fence. Here are two of the most common fence repair issues we see and how to fix them:
Broken Wire Tie Issues
Wire ties are used to secure the chain link fabric to the fence framework. These fixtures are soft and malleable, making it easy for squirrels or other animals to chew through the wire. A broken tie might cause the fabric to come loose, sag, or fall down altogether.
While this is inconvenient, it’s simple to repair. You’ll just need to replace the broken wire ties with new ones. Also known as hog rings or fence ties, you can find wire ties at your local home improvement store.
What you’ll need: Pliers and new wire ties
Steps:
- Using pliers, grip the broken wire tie and twist it in the opposite direction of the way it was originally tightened. Continue twisting until the wire tie is completely loosened and can be removed from the fence.
- Thread a new wire tie through the chain link fabric and the fence framework, making sure the wire tie wraps around the vertical fence post or rail and through the chain link fabric. Use pliers or a fencing tool with a hog ring notch to bend the wire tie tightly and secure it in place.
- Repeat for other broken wire ties if needed.
Mesh or Weave Damage
Fixing broken mesh is another easy chain link fence repair — whether you need to patch a small hole, tighten a loose area, or replace an entire section.
Fixing mesh or weave damage on a chain link fence typically involves repairing or replacing the damaged section of the chain link fabric.
Repairing small holes and tears
For small holes or tears in chain link fabric, you can patch them using fence ties or galvanized wire. Place the tie or wire on one side of the hole or tear and wrap it tightly around the adjacent wires of the chain link fabric. Repeat on the other side, essentially bridging the damaged area. Use pliers to secure the patch in place.
Repairing broken section of mesh
If a large section of the mesh is broken, you might need to cut the area with metal clippers and weave in a new piece of mesh to fill this gap. After this, reassemble the fence by securing the chain link to the rails and posts with wire ties.
Replacing an entire section
If the damage is extensive, it may be more practical to replace the entire section of chain link fabric. To do this:
- Remove the ties that secure the damaged section of chain link fabric to the fence framework.
- Cut the replacement fabric to the appropriate size using wire cutters or bolt cutters.
- Use fence ties or galvanized wire to secure the replacement fabric to the fence framework. Attach the ties or wire at regular intervals, typically every 12–18 inches vertically and horizontally.
- Pull the fabric tight and adjust as needed to ensure a smooth and taut appearance.
Hiring a Professional to Handle Your Fence Repair
If you’d rather not deal with a fence repair yourself, you can always reach out to a certified fence contractor. This can save homeowners a lot of time and effort and will ensure the final outcome meets professional standards.
Just be aware that most contractors won’t repair a fence that’s reaching the end of its life or has severe structural damage. In such cases, it makes more sense to install a new fence — which a qualified contractor can help you with as well.
At Top Rail Fence, we offer the highest-quality fence contracting services from expertly trained professionals. When you choose Top Rail Fence for assistance with a fence repair, maintenance, or installation, you’ll have peace of mind for years to come.
Need some help with your next fencing project or renovation? Contact our team for a free quote.